
1. Content Creation on YouTube, Instagram, Facebook Pages, Blog etc.
- What to do: Create videos in Hindi, English or any language about trending topics, lifestyle, drama/comedy, or educational content. You can upload on platforms like YouTube, Instagram Reels, or Facebook.
- How to make money:
- Brand Deals: Collaborate with brands that are looking to target a specific language speaking audience. They will give some tasks related to their work. You have to promote.
- Ad Revenue: Once you gain a following, you can earn from ads on YouTube. Brands also pay some money to promote their product and services.
- Affiliate Marketing: You can also promote products and services through your content and earn a commission.

2. Freelancing like Writing, Translation, Social Media Management
- What to do: You have to offer services as a freelancer. You can offer writing, social media management, translation (English to Hindi or Hinglish), or voice-over work according to client demand.
- How to make money:
- Platforms to use: Some websites like Upwork, Freelancer, and Fiverr are most reefable freelancing site.
- Freelancing in Hinglish: Many brands target a Hinglish audience, so you can specialize in creating Hinglish content or managing social media for brands that cater to this demographic. Apart from that you can also make some content for foreigners.
3. Online Tutoring on Educational Platforms
- What to do: You can teach subjects like English, math, or coding in any language according to your proficiency. This is especially helpful for students who are comfortable with both Hindi and English.
- How to make money:
- Use platforms like Chegg, Vedantu, or Byju’s to get started. They pay good amount for teaching
- You can also teach private lessons on platforms like Zoom and get paid directly by students. In today’s time people prefer more online classes apart from offline. It is time saving and more effective.


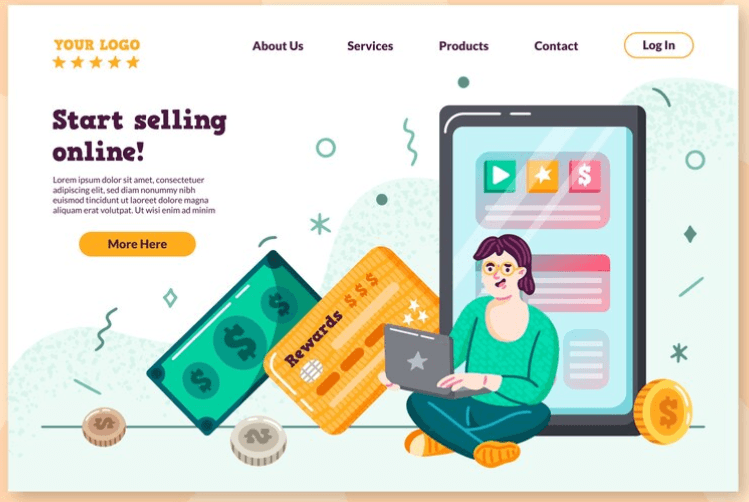
4. Affiliate Marketing
- What to do: You have to promote products/services and earn a commission on every sale made through your referral link. You can share these links on your blog, Instagram, or YouTube channel.
- How to make money:
- Join affiliate programs of e-commerce platforms like Amazon, Flipkart, Hostinger or Myntra.
- Create content (like reviews or tutorials) in your comfortable language that encourages your audience to buy through your affiliate links.
5. Blogging/Vlogging in English/Hindi/Any Language
- What to do: Create a blog or vlog where you write about personal experiences, product reviews, or share your thoughts. Make your visibility.
- How to make money:
- AdSense: Monetize your blog with Google AdSense. Apart from that you can also get tender from other brands. You can also advertise your own.
- Sponsored Posts: Brands looking to reach various-speaking audiences may pay you to write posts about their products/services.
6. Selling Handmade or Custom Products
- What to do: Create or design unique products (like jewellery, home décor, or clothing) and sell them online through platforms like Myntra, Amazon, or Flipkart.
- How to make money: Promote your products using Hinglish on your social media, helping you target the right demographic.
7. Online Surveys and Market Research
- What to do: You can also participate in online surveys and market research studies. Companies often pay for your opinions to improve their products/services.
- How to make money:
- Join sites like Crown, Swagbucks, Toluna, or Valued Opinions to get paid for completing surveys in Hinglish.

8. Virtual Assistant (VA) Services
- What to do: You can also offer administrative support like email management, social media posting, or scheduling appointments for businesses.
- How to make money:
- Use platforms like Upwork and Fiverr to find clients looking for virtual assistants, and communicate in Hinglish to provide a more personal touch for local clients.
9. Sell Digital Products like E-books, Courses, Templates
- What to do: You can create and sell digital products such as E-books, online courses, or design templates.
- How to make money:
- Use platforms like Udemy or Teachable to sell your courses or products.
10. Dropshipping or E-commerce
- What to do: Set up an online store using platforms like Shopify or WooCommerce and sell products without holding inventory.
- How to make money:
- You can promote your store using Hinglish on social media and Google ads.
- Dropshipping can be an effective way to start a business with low upfront costs.
11. Voiceovers and Audio Work
- What to do: If you have a good voice, you can offer voiceover services for commercials, audiobooks, and animations in Hinglish.
- How to make money: Use platforms like Fiverr or Voices.com to find clients looking for voiceovers.


12. Online Gaming/Streaming
- What to do: If you are good at gaming or entertainment, you can stream your gameplay on platforms like Twitch or YouTube.
- How to make money:
- Revenue from ads, donations, sponsorships, or subscriptions.
By these processes you can build a unique connection with your audience, especially in India, where it has become a popular and relatable form of communication. Choose the method that best fits your skills and interests, and start earning online.

Steps to create Youtube Channel
1. Sign in to YouTube (Email is required)
- Step I: Open Youtube in your web browser. You can use any browser but Chrome interface is good for beginners.
- Step II: If you don’t already have a Google account, create one by clicking on the Sign In button at the top right corner. You will be prompted to either create a Google account or use an existing one.
2. Create Your Channel
- Step 1: Once you are signed into YouTube, click on your profile picture (top right corner).
- Step 2: Click on “Your Channel” from the dropdown menu.
- Step 3: If you don’t have a channel, YouTube will prompt you to create one. You can either use your name or create a custom name for your channel.
- Custom Channel Name: If you want a business or creative name (like for a Hinglish content channel), choose a custom name.
- Step 4: Click “Create Channel”. Your channel is now live!
3. Set Up Your Channel
Now that you’ve created your channel, it’s time to make it stand out. Here’s what you need to do:
- Profile Picture: Click on the camera icon on your profile picture to upload a photo. Ideally, use a clear, high-quality logo or your personal photo, depending on your content.
- Channel Art: Click on the camera icon on the banner section of your channel (the large header image). This image should reflect the type of content you make (e.g., lifestyle, gaming, comedy in Hinglish). Recommended dimensions are 2560×1440 px.
- Channel Description: Go to the “About” tab and write a short description of your channel. This helps viewers understand what your content is about. If your channel is in Hinglish, mention that in your description to appeal to your target audience.
4. Customize Your Channel
- Step 1: Go to the YouTube Studio (click on the profile icon > “YouTube Studio”).
- Step 2: Under the Customization tab, you can add a short channel description, links, and contact information.
- Step 3: You can also select a channel trailer (a short video that will introduce new visitors to your channel).
5. Create Your First Video
Now it’s time to start creating content for your channel. Here are some tips to get started:
- Choose Your Niche: Decide on the kind of content you want to create (comedy, tutorials, vlogs, reviews, etc.). If you’re aiming for a Hinglish audience, make sure the content resonates with them.
- Recording: You can record your video with a smartphone or a camera. Just make sure the video and audio quality is good.
- Editing: Use editing software (like Adobe Premiere Pro, Final Cut Pro, or free ones like Shotcut or DaVinci Resolve) to edit your video. Add captions in Hinglish, make it engaging, and ensure it flows well.
- Thumbnail: Create a catchy thumbnail (this is important for attracting viewers). You can use Canva or Adobe Spark to create visually appealing thumbnails.
6. Upload Your First Video
- Step 1: Once your video is ready, go to YouTube Studio and click on the “Create” button (top right corner, it looks like a camera with a “+” sign).
- Step 2: Choose “Upload Video” and select the video file from your computer or phone.
- Step 3: Add a title, description, and tags. In the title and description, make sure to include keywords that will help people discover your content, like “Hinglish comedy”, “Hinglish tutorials”, or whatever niche your video falls into.
- Step 4: Choose a thumbnail, select the video’s privacy (Public, Private, or Unlisted), and then click “Publish”.
7. Promote Your Channel
- Social Media: Share your videos on social media platforms like Facebook, Instagram, Twitter, and WhatsApp to get more views.
- Engage With Viewers: Respond to comments, ask for feedback, and create content based on your audience’s interests.
- Consistency: Post videos regularly so that your audience knows when to expect new content. You can start with one video a week or according to your availability.
8. Monetize Your Channel (Optional)
Once your channel grows, you can start earning money:
- AdSense: YouTube has a monetization program where you can earn money from ads shown on your videos. To qualify for this, you need:
- At least 1,000 subscribers.
- 4,000 watch hours in the past 12 months.
- Other Monetization Options: As your channel grows, you can explore sponsorships, affiliate marketing, and merchandise sales.
Tips for Success:
- Be Consistent: Consistency is key on YouTube. Upload regularly to build an audience.
- Engage Your Audience: Ask viewers to like, comment, and subscribe. This helps your video get more visibility.
- SEO: Optimize your titles, descriptions, and tags with relevant keywords (e.g., Hinglish, trending topics) to help your videos appear in search results.
Now you’re all set to start your YouTube journey! Best of luck with your new channel!

Steps To Create a Facebook Page
Step 1: Sign in to Facebook
- Go to: Facebook.com
- Sign in with your personal Facebook account credentials. If you don’t have an account, you’ll need to create one.
Step 2: Go to the “Create” Section
- Once logged in, on the home page, you’ll see a menu on the left side.
- Click on “Pages” under the “Explore” section (it may appear as “Create” or “Create Page” in some versions).
- Alternatively, you can directly visit facebook.com/pages/create.
Step 3: Choose a Page Type
- Facebook will prompt you to choose between two types of pages:
- Business or Brand: Ideal if you’re creating a page for a business, company, or product.
- Community or Public Figure: Ideal for personal brands, influencers, or communities.
- Select the one that best fits your needs.
Step 4: Fill in the Basic Information
After choosing a category, you’ll need to provide some basic details:
- Page Name: Choose a name for your page. This could be your business name, personal brand name, or any name related to your niche.
- Category: Enter a category that best describes your page (e.g., “Restaurant”, “Artist”, “Educational”, etc.). You can enter a few keywords, and Facebook will suggest categories.
- Description: Write a short description of your page. Make sure it’s concise and tells people what your page is about (e.g., what you offer or why people should follow you).
Step 5: Add Profile and Cover Photos
- Profile Picture: Upload a profile picture that represents your page (for a business, this could be your logo; for personal branding, a clear headshot). Recommended size: 170×170 px.
- Cover Photo: Upload a cover photo (the large image at the top of your page). It should be visually appealing and represent your page or brand. Recommended size: 820×312 px.
Step 6: Customize Your Page
- After creating the page, you’ll be taken to your Page dashboard. Here you can further customize your page:
- Add Contact Information: This can include a website link, phone number, email address, and business hours.
- Create a Username: This is a unique name for your page (e.g., @yourbusinessname), which will help people find your page easily.
- Add a Call-to-Action Button: You can add a button like “Contact Us”, “Shop Now”, “Learn More”, etc. This appears below your cover photo.
- About Section: Update the “About” section to provide more details about your page (for example, a business description, services, or your mission).
Step 7: Publish Your Page
- Once you’re happy with how your page looks, click on the “Publish” button to make your page live.
- Your page is now publicly visible to anyone who wants to find it.
Step 8: Start Posting Content
- To keep your followers engaged, post regularly. You can upload photos, videos, updates, events, or any other content related to your brand or interest.
- Create Posts: Use engaging content like images, videos, or polls to keep your audience engaged.
- Set a Posting Schedule: Consistency is key for growing your Facebook page.
Step 9: Promote Your Page
- Invite Friends: You can invite your friends to like your page to help get the word out.
- Share Your Page: Share your page on your personal Facebook feed or other social media platforms.
- Run Facebook Ads: If you want to reach a larger audience, you can create Facebook ads to promote your page.
Step 10: Monitor and Engage with Your Audience
- Respond to Comments: Interact with followers who comment on your posts.
- Check Insights: Facebook provides insights and analytics for your page. Track the performance of your posts and audience engagement.
- Keep Updating: Keep your page updated with relevant content to grow your following.
Optional: Advanced Settings
- Add More Admins: You can assign other people as admins to help manage the page (ideal for businesses with a team).
- Enable Reviews: If applicable, you can allow customers to leave reviews about your business or service.
- Link to Instagram: If you have an Instagram account, you can link it to your Facebook page to cross-post content and reach a wider audience.
By following these steps, you’ll have a Facebook page that’s set up and ready to grow your community or business online. Good luck!
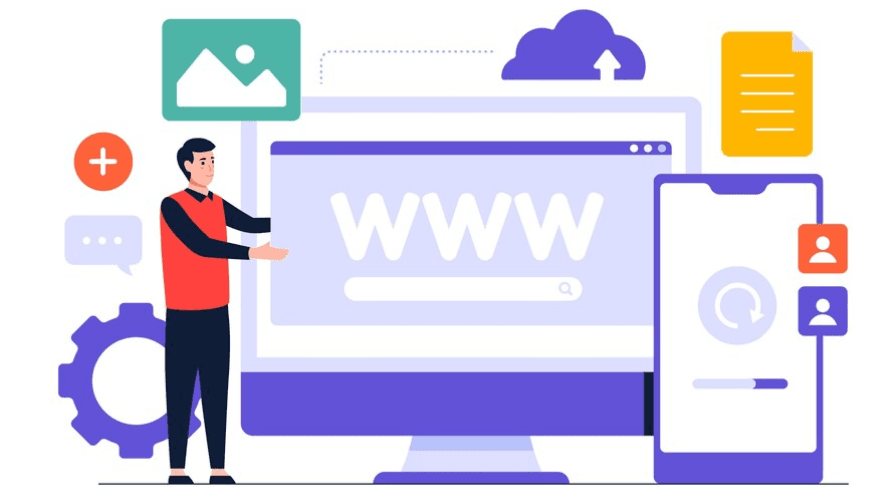
Steps to Create a Wbsite
Step 1: Decide on Your Website’s Purpose
- Before you begin, you need to define the goal of your website. Is it a personal blog, an online store, a portfolio, or a business website? This will determine the design and features needed.
Step 2: Choose a Website Builder or Platform
There are several ways to build a website, depending on your needs and skill level:
- Website Builders (for beginners):
- Wix – Drag-and-drop website builder with easy-to-use templates.
- Squarespace – Beautiful templates for creatives and small businesses.
- Weebly – User-friendly with drag-and-drop features.
- Content Management System (CMS) (for more control):
- WordPress – The most popular platform for all types of websites. You’ll need a domain and hosting, but it’s very customizable.
- E-commerce Platforms (if you want to create an online store):
- Shopify – Best for creating online stores.
- BigCommerce – Another great option for e-commerce websites.
Step 3: Register a Domain Name
- Your domain name is your website’s address on the internet (e.g., www.yourwebsite.com).
- Choose a domain name that’s short, memorable, and related to your business or personal brand.
- You can register a domain through:
- GoDaddy
- Namecheap
- Bluehost (if you’re using WordPress, they also offer hosting).
Step 4: Choose a Web Hosting Provider
- If you’re using WordPress, you will need to purchase hosting to make your site live on the internet. Website builders like Wix or Squarespace include hosting in their plans, so you won’t need to worry about this separately.
- Recommended Hosting Providers for WordPress:
- Bluehost – Officially recommended by WordPress, good for beginners.
- SiteGround – Known for good speed and security features.
- HostGator – Budget-friendly option for shared hosting.
Step 5: Install WordPress (for WordPress websites)
- If you’re using WordPress, you can install it on your hosting account. Many hosts offer one-click installations, making the process simple.
- Log into your hosting account and follow the instructions to install WordPress on your domain.
Step 6: Choose a Website Theme
- For Website Builders (Wix, Squarespace, etc.): Select a theme from the platform’s library of templates. These are pre-designed layouts that you can customize.
- For WordPress:
- Go to the Appearance tab in the WordPress dashboard and click Themes.
- You can search for free themes from the WordPress theme library or purchase a premium theme from a marketplace like ThemeForest or Elegant Themes.
- Install and activate your chosen theme.
Step 7: Customize Your Website’s Design
- Adjust Layout: Choose your website’s color scheme, fonts, and layout. Most website builders and themes let you easily change these settings.
- Add Logo: Upload your logo in the Header section to represent your brand.
- Menus: Create navigation menus for your website, such as Home, About Us, Blog, and Contact.
Step 8: Add Content
- Pages: Start by creating key pages for your website (depending on your purpose):
- Home Page: This is the landing page of your site, and it should give visitors an overview of what your site offers.
- About Page: This page tells visitors who you are and what your website is about.
- Contact Page: Provide a way for people to get in touch with you (email, phone number, or contact form).
- Blog/Portfolio/Shop: Add any additional pages for your content or e-commerce needs.
- Text and Media: Add text content, images, videos, or other media to your pages.
- SEO Optimization: Ensure each page is optimized for search engines by including relevant keywords in your text, headings, and image descriptions.
Step 9: Set Up Your Website’s Functionality
- Forms: Add a contact form so people can reach out to you.
- Social Media Integration: Include social media buttons or feeds on your website to increase engagement.
- Plugins (for WordPress): Install plugins for extra features like SEO tools, security, speed optimization, or contact forms. Some popular plugins include:
- Yoast SEO – For search engine optimization.
- WPForms – For creating contact forms.
- WooCommerce – If you want to add e-commerce functionality.
- Jetpack – For security, performance, and backups.
Step 10: Preview and Test Your Website
- Preview Your Website: Before making it live, preview how your website looks and works. Check if all links are functional and the design looks good on different devices (mobile, tablet, desktop).
- Test: Test your contact forms, checkout process (for e-commerce), and other features.
Step 11: Launch Your Website
- Once everything looks good and works correctly, it’s time to publish your site.
- If you’re using a website builder, just click on the Publish button.
- For WordPress, once your website is ready, you can make it live by configuring your domain settings through your hosting provider.
Step 12: Promote and Maintain Your Website
- SEO: Optimize your website for search engines by using SEO strategies (e.g., writing quality content, using keywords, building backlinks).
- Promote: Share your website on social media, email newsletters, and other platforms to increase traffic.
- Regular Updates: Continuously update your website with new content or products. Ensure that your site is running smoothly with regular maintenance and backups.
Additional Tips:
- Mobile Optimization: Make sure your website looks good on mobile devices since a large percentage of users browse the web on their phones.
- Security: Keep your website secure by using HTTPS (SSL certificate) and keeping your plugins and themes updated.
By following these steps, you’ll have a website up and running in no time. Whether it’s a blog, business site, or online store, building a website is an important tool to establish your online presence!
Leave a Reply